Hello everyone 👋,
This is my first blog post about AI, it’s a quick post on how to enable GPU support for the FastAI library.
I have avoided getting into AI for some time now, I thought that it would involve lots of complicated math, and I was not sure that it would be worth the effort, I did not get very good grates in my college math classes 😅.
In the end I’ve decided that I want to give it a try and I found this course Practical Deep Learning which is based on the book Deep Learning for Coders with Fastai and PyTorch: AI Applications Without a PhD.
The main idea is that the course teaches the practical part first, with examples and then the theory, which is exactly was I was looking for and my preferred way of learning. Imagine learning to build a simple API, and you’ll start by reading the HTTP RFC, it would not be very fun (at least for me). Every university course teaches you theory, heavy math, and then you’ll get a glimpse of the practical part, in my opinion this doesn’t work very well. The world is moving fast, and we can build stuff on the shoulders of giants, just like we use a web framework to build a web app, we can use a library to build AI applications.
In the first lesson of the course you’ll build a simple image classifier that can identify which image contains a cat 🐈⬛.
This is the classifier that I’ve built, (well I did copy the code from the course 😅)
from fastai.vision.all import *
path = untar_data(URLs.PETS)/'images'


def is_cat(x):
    # Cat files start with capital letter
    return x[0].isupper()


dls = ImageDataLoaders.from_name_func(
    path,
    get_image_files(path),
    valid_pct=0.2, seed=42,
    label_func=is_cat,
    item_tfms=Resize(224)
)

learn = vision_learner(dls, resnet34, metrics=error_rate)
learn.fine_tune(1)
And I use the following code to test it:
from IPython.display import display
images = ["cat.jpeg", "cat2.jpg", "cat3.jpg", "pantera-neagra.webp"]
for image in images:
img = PILImage.create(f"images/{image}")
display(img.to_thumb(192))
is_cat,_,probs = learn.predict(img)
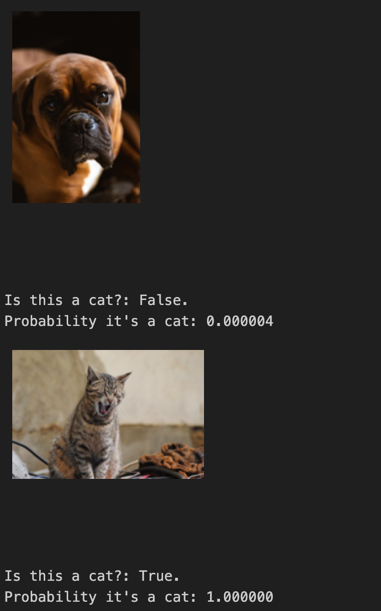
print(f"Is this a cat?: {is_cat}.")
print(f"Probability it's a cat: {probs[1].item():.6f}")
You will need an images directory in the root of your project, and if you’re running it within a Jupyter notebook
you’ll get the following output:
If you run the code on the CPU it will take ~4 minutes to run on a Macbook Pro M1 Pro with 32GB RAM, on my machine with Ryzen 5600X, RTX 3600 and 64GB RAM it takes around 10+ minutes without CUDA enabled, with CUDA it takes 1-2 minutes.
To run the code by yourself with CUDA support you’ll need to follow the following steps:
- Install the latest NVIDIA drivers for your GPU from here.
- Install CUDA Toolkit 11.8 from here.
- Use a virtual environment for python and install fastai package.
python3 -m venv venv
source venv/bin/activate
pip install fastai
- Install Pytorch with CUDA support for Windows.
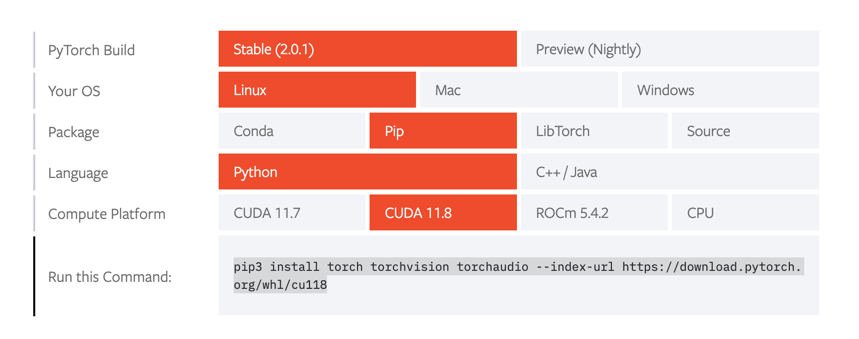
pip3 install torch torchvision torchaudio --index-url https://download.pytorch.org/whl/cu118
The full instructions for other operating systems are available here.
- Run the code and enjoy the speedup.
That’s it for today, I hope you enjoyed this post, and I’ll see you in the next one.