Hi 👋,
In this short article I will highlight how to use the BME680 Home Assistant integration with a BME680 Sensor.
Please note that I’m running Home Assistant core on Raspbian OS.
Raspberry Pi Setup
Before connecting the sensor, you will need to enable the I2C interface on your Raspberry Pi and install some additional tools that are useful for debugging.
To enable the I2C interface execute:
sudo raspi-config
Then go to Interfacing options->I2C and select yes.
Next, install the following packages:
sudo apt-get install build-essential libi2c-dev i2c-tools python-dev libffi-dev
Sensor Setup
The first step is to buy the sensor, get one with headers already soldered if you can otherwise, you’ll need to solder them.
I got mine from Pimoroni and I’ve never was disappointed by them, they deliver to EU.
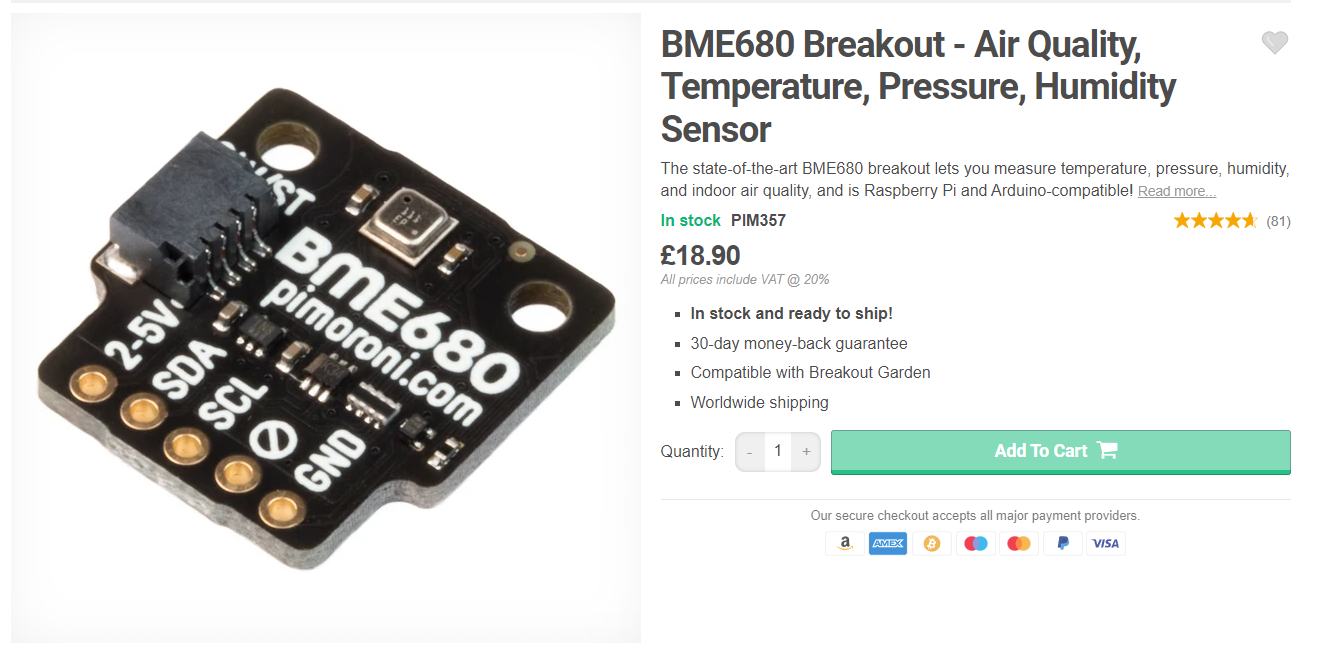 BME680 sensor. Pimoroni screen capture 2022-01-16
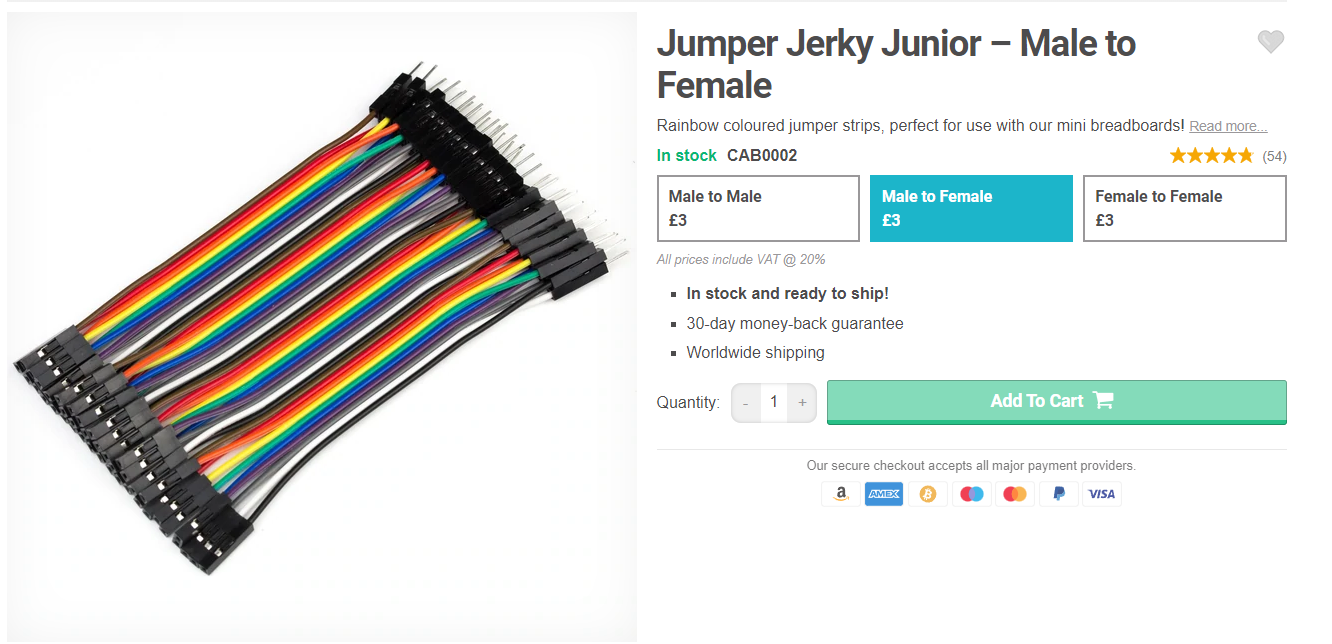
Next depending on which headers you’ve chosen; you will need four male-to-female jumper wires to connect the BME680 to the Raspberry Pi.
BME680 sensor. Pimoroni screen capture 2022-01-16
Next depending on which headers you’ve chosen; you will need four male-to-female jumper wires to connect the BME680 to the Raspberry Pi.
 To connect the sensor to the Raspberry PI, refer to the following diagram:
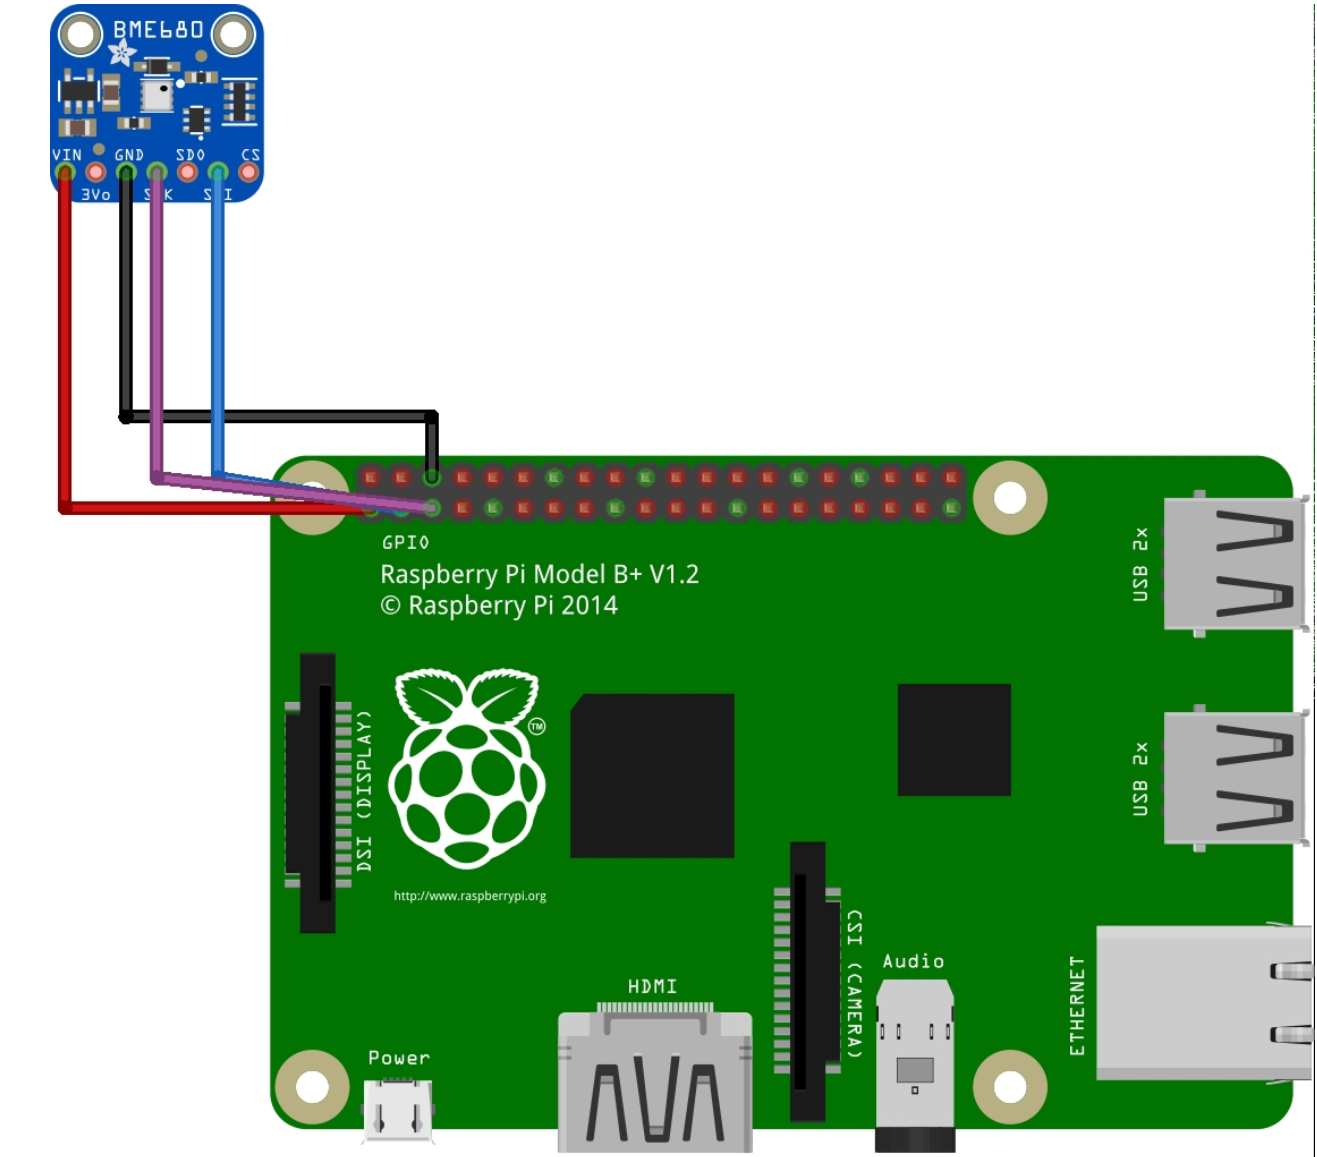 You will need to connect the wires to the following buses:
- Sensor Power -> Raspberry PI 3.3V
- Sensor GND -> Raspberry PI GND
- Sensor SCL -> Raspberry PI SCL
- Sensor SDA -> Raspberry PI SDA
Check that the sensor is detected using the following command on the Raspberry Pi.
/usr/sbin/i2cdetect -y 1
You should get an ouput like this:
0  1  2  3  4  5  6  7  8  9  a  b  c  d  e  f
00:          -- -- -- -- -- -- -- -- -- -- -- -- --
10: -- -- -- -- -- -- -- -- -- -- -- -- -- -- -- --
20: -- -- -- -- -- -- -- -- -- -- -- -- -- -- -- --
30: -- -- -- -- -- -- -- -- -- -- -- -- 3c -- -- --
40: -- -- -- -- -- -- -- -- -- -- -- -- -- -- -- --
50: -- -- -- -- -- -- -- -- -- -- -- -- -- -- -- --
60: -- -- -- -- -- -- -- -- -- -- -- -- -- -- -- --
70: -- -- -- -- -- -- -- 76
The sensor’s I2C address can be 0x76 or 0x77. According to the above output, the sensor address in our case is 0x76, keep this in mind.
Home Assistant Setup
Add your homeassistant user to the I2C group by running:
sudo addgroup homeassistant i2c
Next, open configuration.yaml and modify the sensor and homeassistant.customize sections according to:
Don’t forget to replace i2c_address : 0x76 with your i2c address if it’s different.
homeassistant:
  name: HomeKit NucuLabs
  unit_system: metric
  time_zone: Europe/Bucharest
  customize:
    sensor.bme680_sensor_temperature:
      icon: mdi:thermometer
      friendly_name: Temperature
    sensor.bme680_sensor_humidity:
      icon: mdi:water
      friendly_name: Humidity
      device_class: humidity
      unit_of_measurement: "%"
    sensor.bme680_sensor_pressure:
      icon: mdi:gauge
      friendly_name: Pressure
    sensor.bme680_sensor_air_quality:
      icon: mdi:blur
      friendly_name: Air Quality
      device_class: pm25
      unit_of_measurement: "%"

sensor:
  - platform: bme680
    i2c_address: 0x76
    monitored_conditions:
      - temperature
      - humidity
      - pressure
      - gas
      - airquality
Reboot the device after you’ve modified configuration.yaml by running sudo reboot.
Note: The customize section sensor.bme680_sensor_air_quality sets the device class of BME680 air quality measurement to pm25, but this isn’t a pm25 measurement, it’s a proprietary algorithm according BME680 Datasheet. High values indicate good air quality while low values indicate low air quality. On the other hand, in pm25 measurements high values indicate bad air quality and low values good air quality.
This is a hack and it’s up to you if you want to keep it. If you don’t set the device class to pm25 then the measurement won’t be visible in Apple Homekit because Homekit is not aware of this kind of measurement. If you know any other way of making it visible in Homekit let me know. 😀
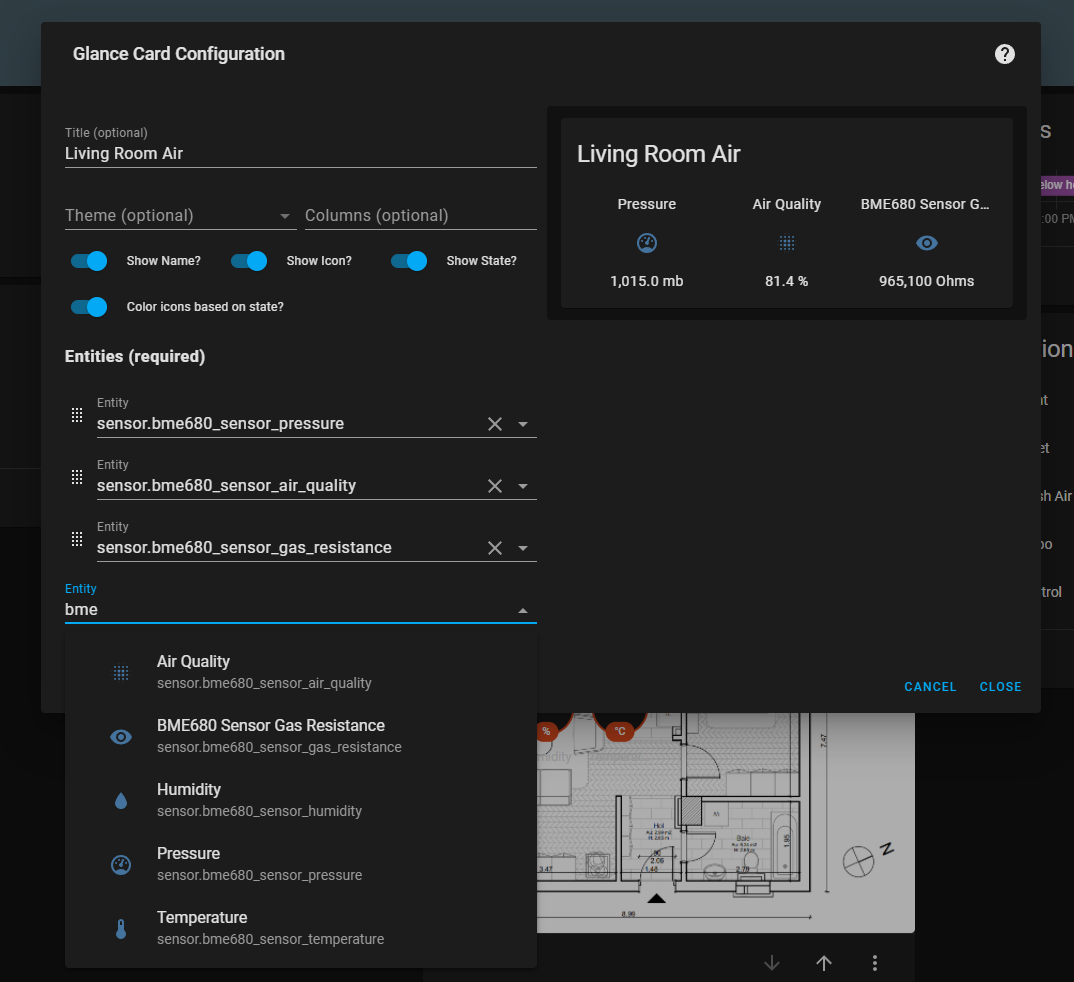
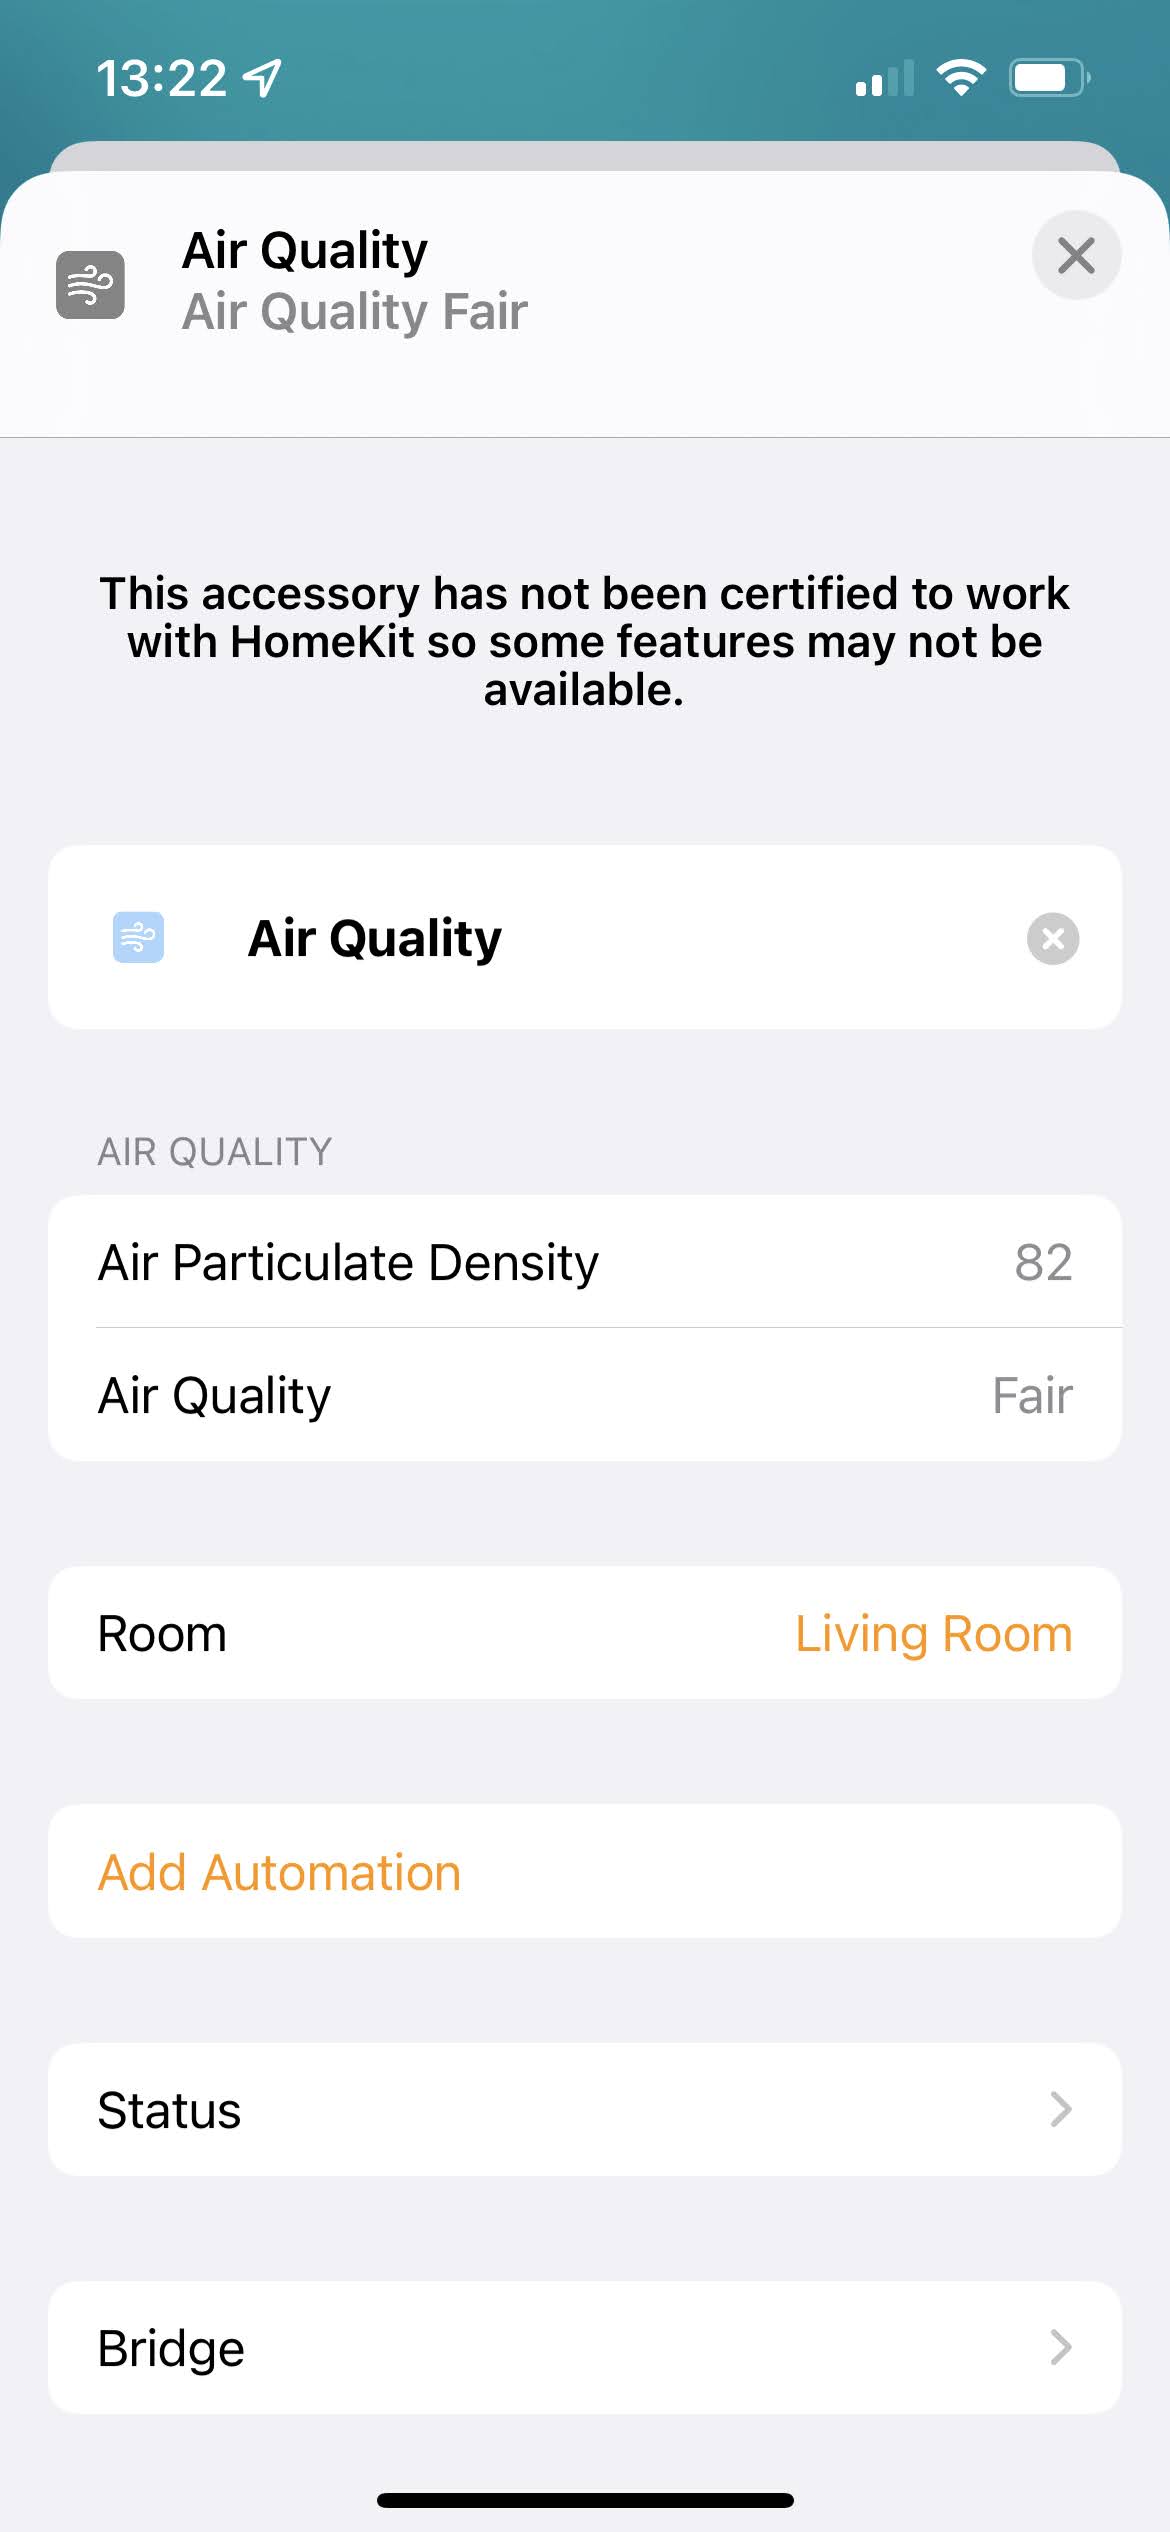 After home assistant reboots, the following entities should be available in the Lovelace UI:
 Thanks for reading! 🍻