Hi 👋
The purpose of this article is to get you started quickly with a Home Assistant on a Raspberry Pi. It’s a simple walkthrough on how to install Home Assistant and configure it so it will boot with your PI.
I will use my old Raspberry PI V3 board.
Flashing the Raspberry PI OS
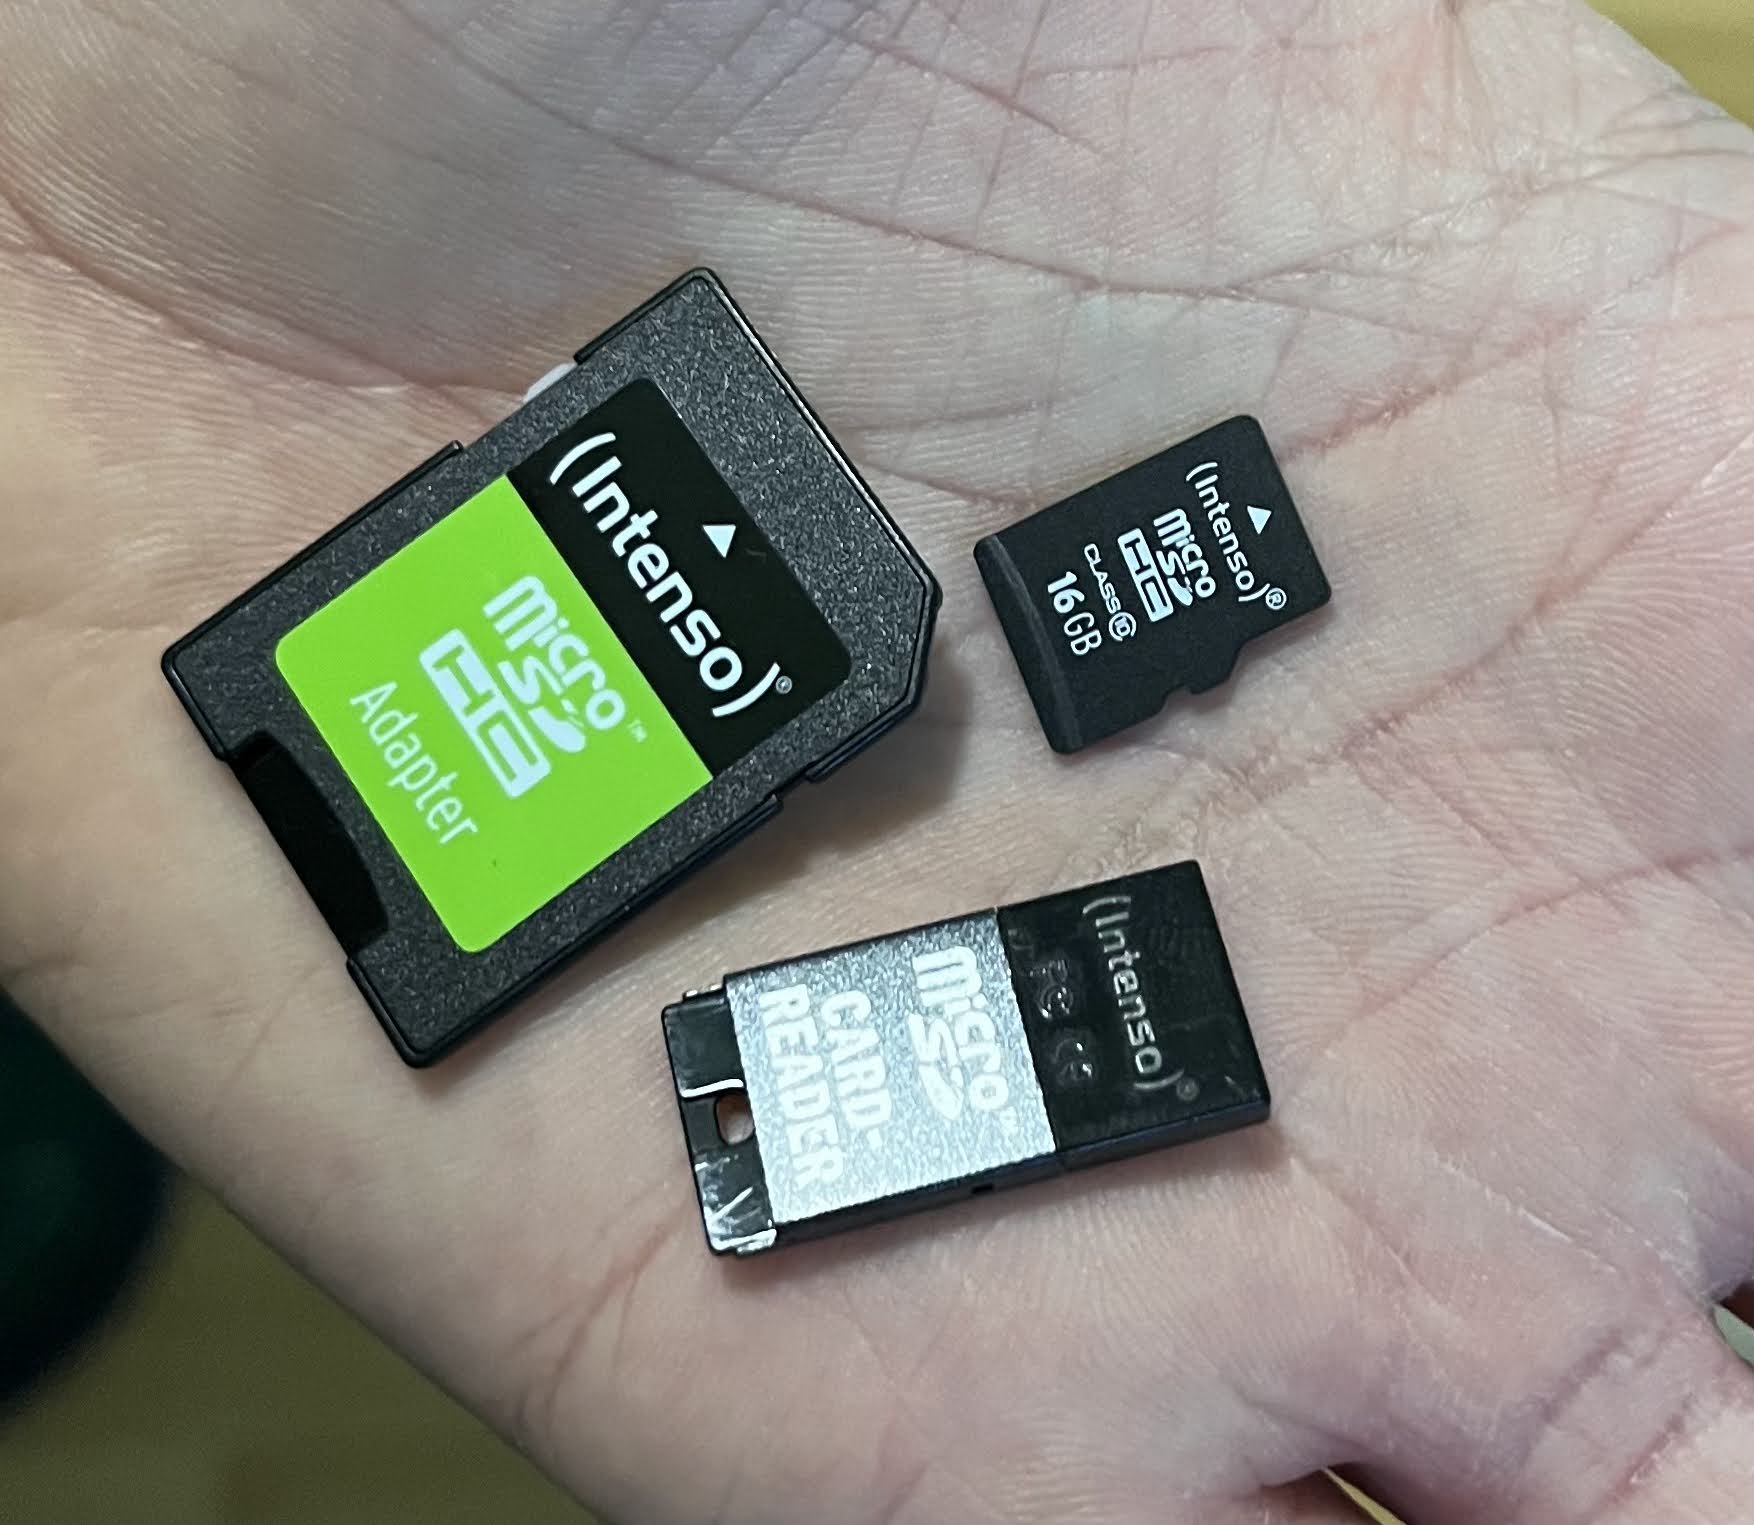
You will need a microSD card of reasonable size, I’m using a 16GB one and a USB Adapter to connect it with my PC.
 Head over to Raspberry Pi OS website and download your preferred image, for my Home Assistant I’ve chosen Raspberry Pi OS with desktop and recommended software. After the download is completed, unzip the file and prepare to flash it.
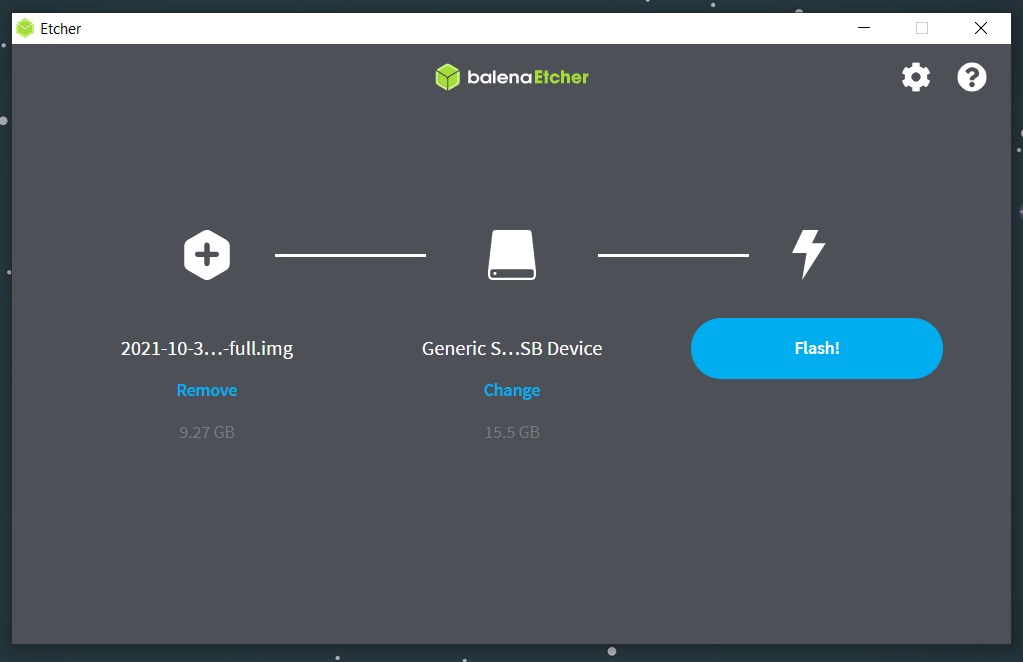
To flash the OS image on the SD card I will use a program called balenaEtcher.
Download it, select your OS image, select the SD card, and hit flash.
 After SD card flashing finishes, it is time to setup the Wi-Fi connection. If you’re using an ethernet cable you can skip this step, however, remember to enable SSH.
Setting up the Wi-Fi and enabling SSH
Unplug the SD card from the computer and plug it back. You should see two new drives D: and E:

- Open your favorite text editor and create an empty file called ssh in drive E:. This will enable SSH access.
- Create a new file called wpa_supplicant.conf using your text editor and paste the following contents in it:
country=us
update_config=1
ctrl_interface=/var/run/wpa_supplicant

network={
   scan_ssid=1
   ssid="YOUR_WIFI_SSID"
   psk="YOUR_WIFI_PASSWORD"
}
Don’t forget to replace YOUR_WIFI_SSID and YOUR_WIFI_PASSWORD with the corresponding values regarding your Wi-Fi network.
Eject the SD card from your computer and plug it into the PI. At boot, the PI should automatically connect to your Wi-Fi network.
Installing Home Assistant Core
Find your Raspberry PI’s IP address and connect to it via ssh. You can run the command ssh pi@192.168.0.XXX. The password for the pi user should be raspberry.
After getting a shell, follow the instructions for installing Home Assistant from the official website.
Ensure that you run each command on its own line. Don’t directly copy the entire code block, copy each line individually.
Starting Home Assistant on boot
If you can access the Home Assistant web GUI using http://192.168.0.XXX:8123 then the next step would be to create a new systemd service so that some assistant starts at boot. Please replace XXX with your Raspberry PI’s IP address.
To create a new service:
- Start a new shell on the Raspberry or ensure that you’re using the pi user. We will execute commands with sudo.
- Use sudo nano /etc/systemd/system/hass.service to create a new file and paste the following contents into it:
[Unit]
Description=HomeAssistant Service
After=network.target

[Service]
User=homeassistant
WorkingDirectory=/home/homeassistant
Environment="PATH=$PATH:/srv/homeassistant/bin"
ExecStart=/srv/homeassistant/bin/hass

[Install]
WantedBy=multi-user.target
Stop hass command if it’s running and enables the service by executing:
sudo systemctl start hass.service
sudo systemctl enable hass.service
sudo systemctl status hass.service
If the service is running normally, everything is set up. You can safely reboot your PI and the Home Assistant service will run after boot.
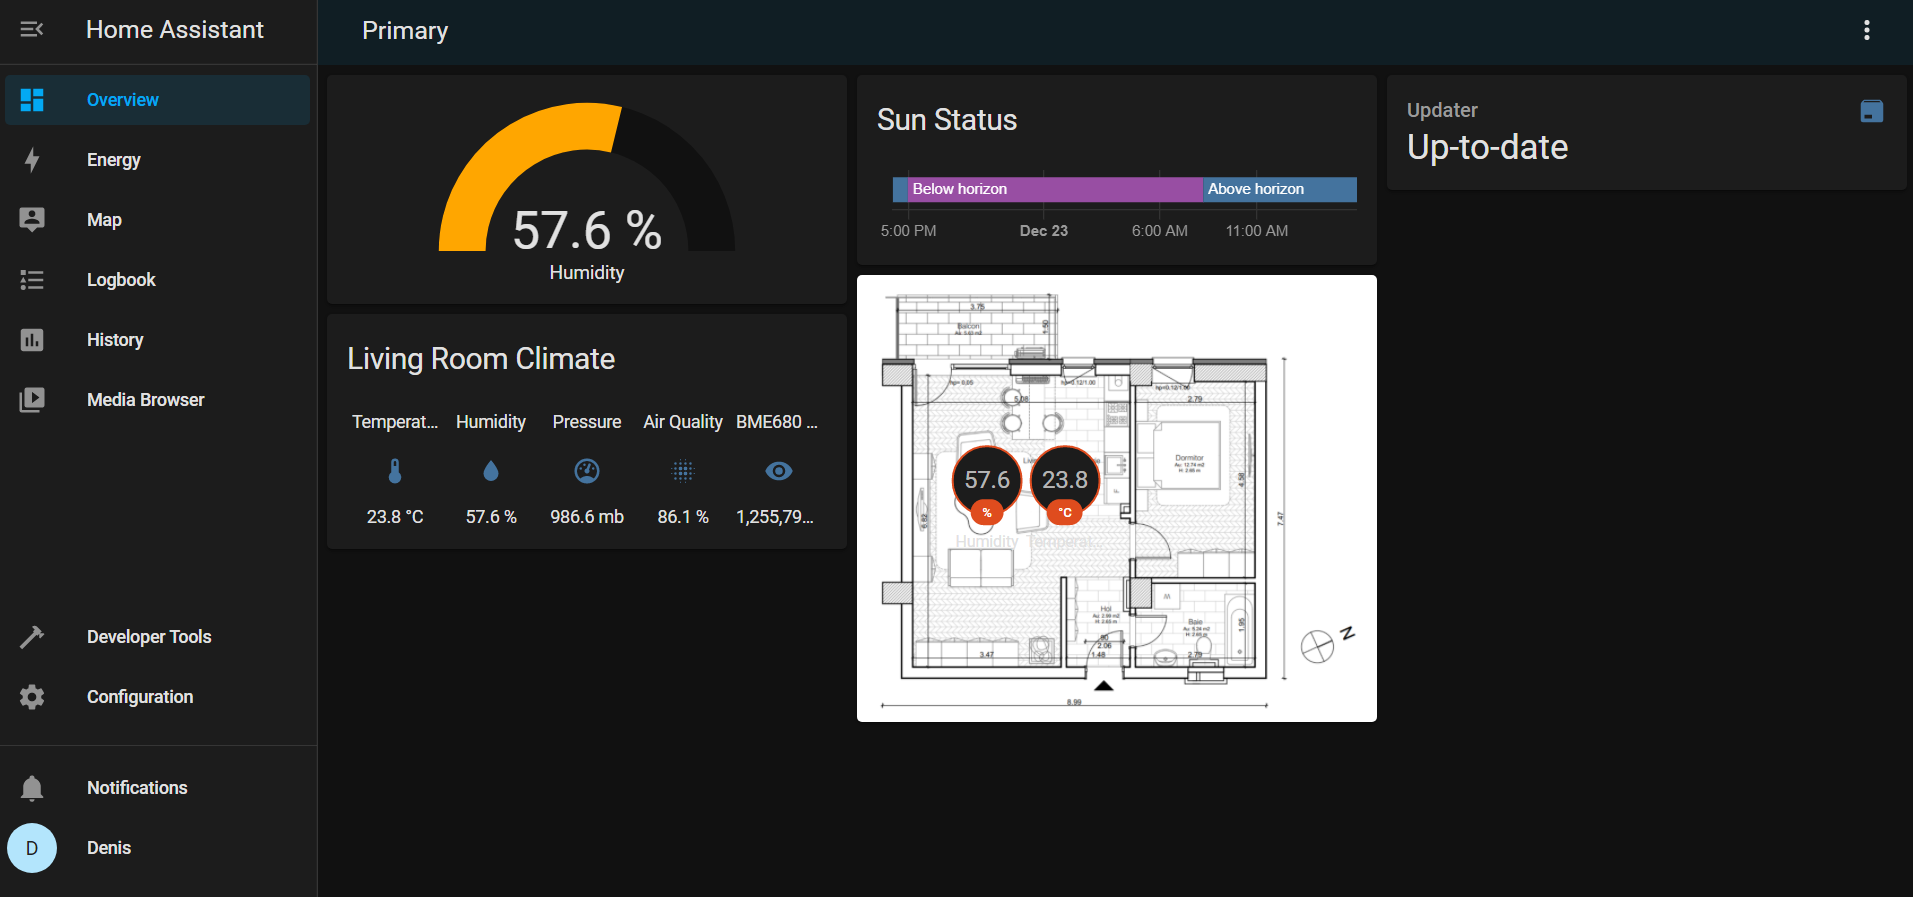
Configuring Home Assistant
When visiting the Home Assistant’s web interface for the first time, you will be prompted to create a new user. You may also download the Home Assistant application for your mobile device if you wish to track things like battery, storage, steps, location and so on, in Home Assistant.
In future articles I will show you how to configure the BME680 enviromental sensor and how to activate the Apple Homekit integration. Until then, have fun exploring Home Assistant docs.
Things to do further:
Unattended Upgrades – Enable unattended upgrades for your Raspbian OS. Ensures that your OS’s is always patched and up to date.
UFW – Secure your Home Assistant server with the uncomplicated firewall.
Change default passwords or disable SSH login via password.
Thanks for reading and happy automations! 📚