Hi
In this article we’ll test out the PMS5003 sensor in order to see if it works. I’ve forgot to buy a connector board, so we will do a manual connection to the Raspberry Pi 3 B V2. This involves cutting the wires and adding some resistors.
Please note that you need:
- 5 Jumper Wires
- 2 Resistors 10K Ohm
Raspberry Pi Setup
Before connecting the sensor to the Pi we need to configure the Pi for this usecase.
Note that if you’re using this sensor with Raspberry Pi, then you’ll need to make a couple of changes to its configuration. Type sudo raspi-config in the terminal and then under “Interfacing options” and “Serial” disable the login shell and enable the serial port hardware. Edit your /boot/config.txt file and add the lines enable_uart=1 and dtoverlay=pi3-miniuart-bt to the bottom of the file.
From: https://shop.pimoroni.com/products/pms5003-particulate-matter-sensor-with-cable
After the setup from above is done, reboot the Pi and install the software.
| |
Note: In order to connect to the Raspberry Pi I’ve used Visual Studio Code and the Remote – SSH, this is unnecessary, editing files is VSCode is a personal preference.
Sensor Wiring
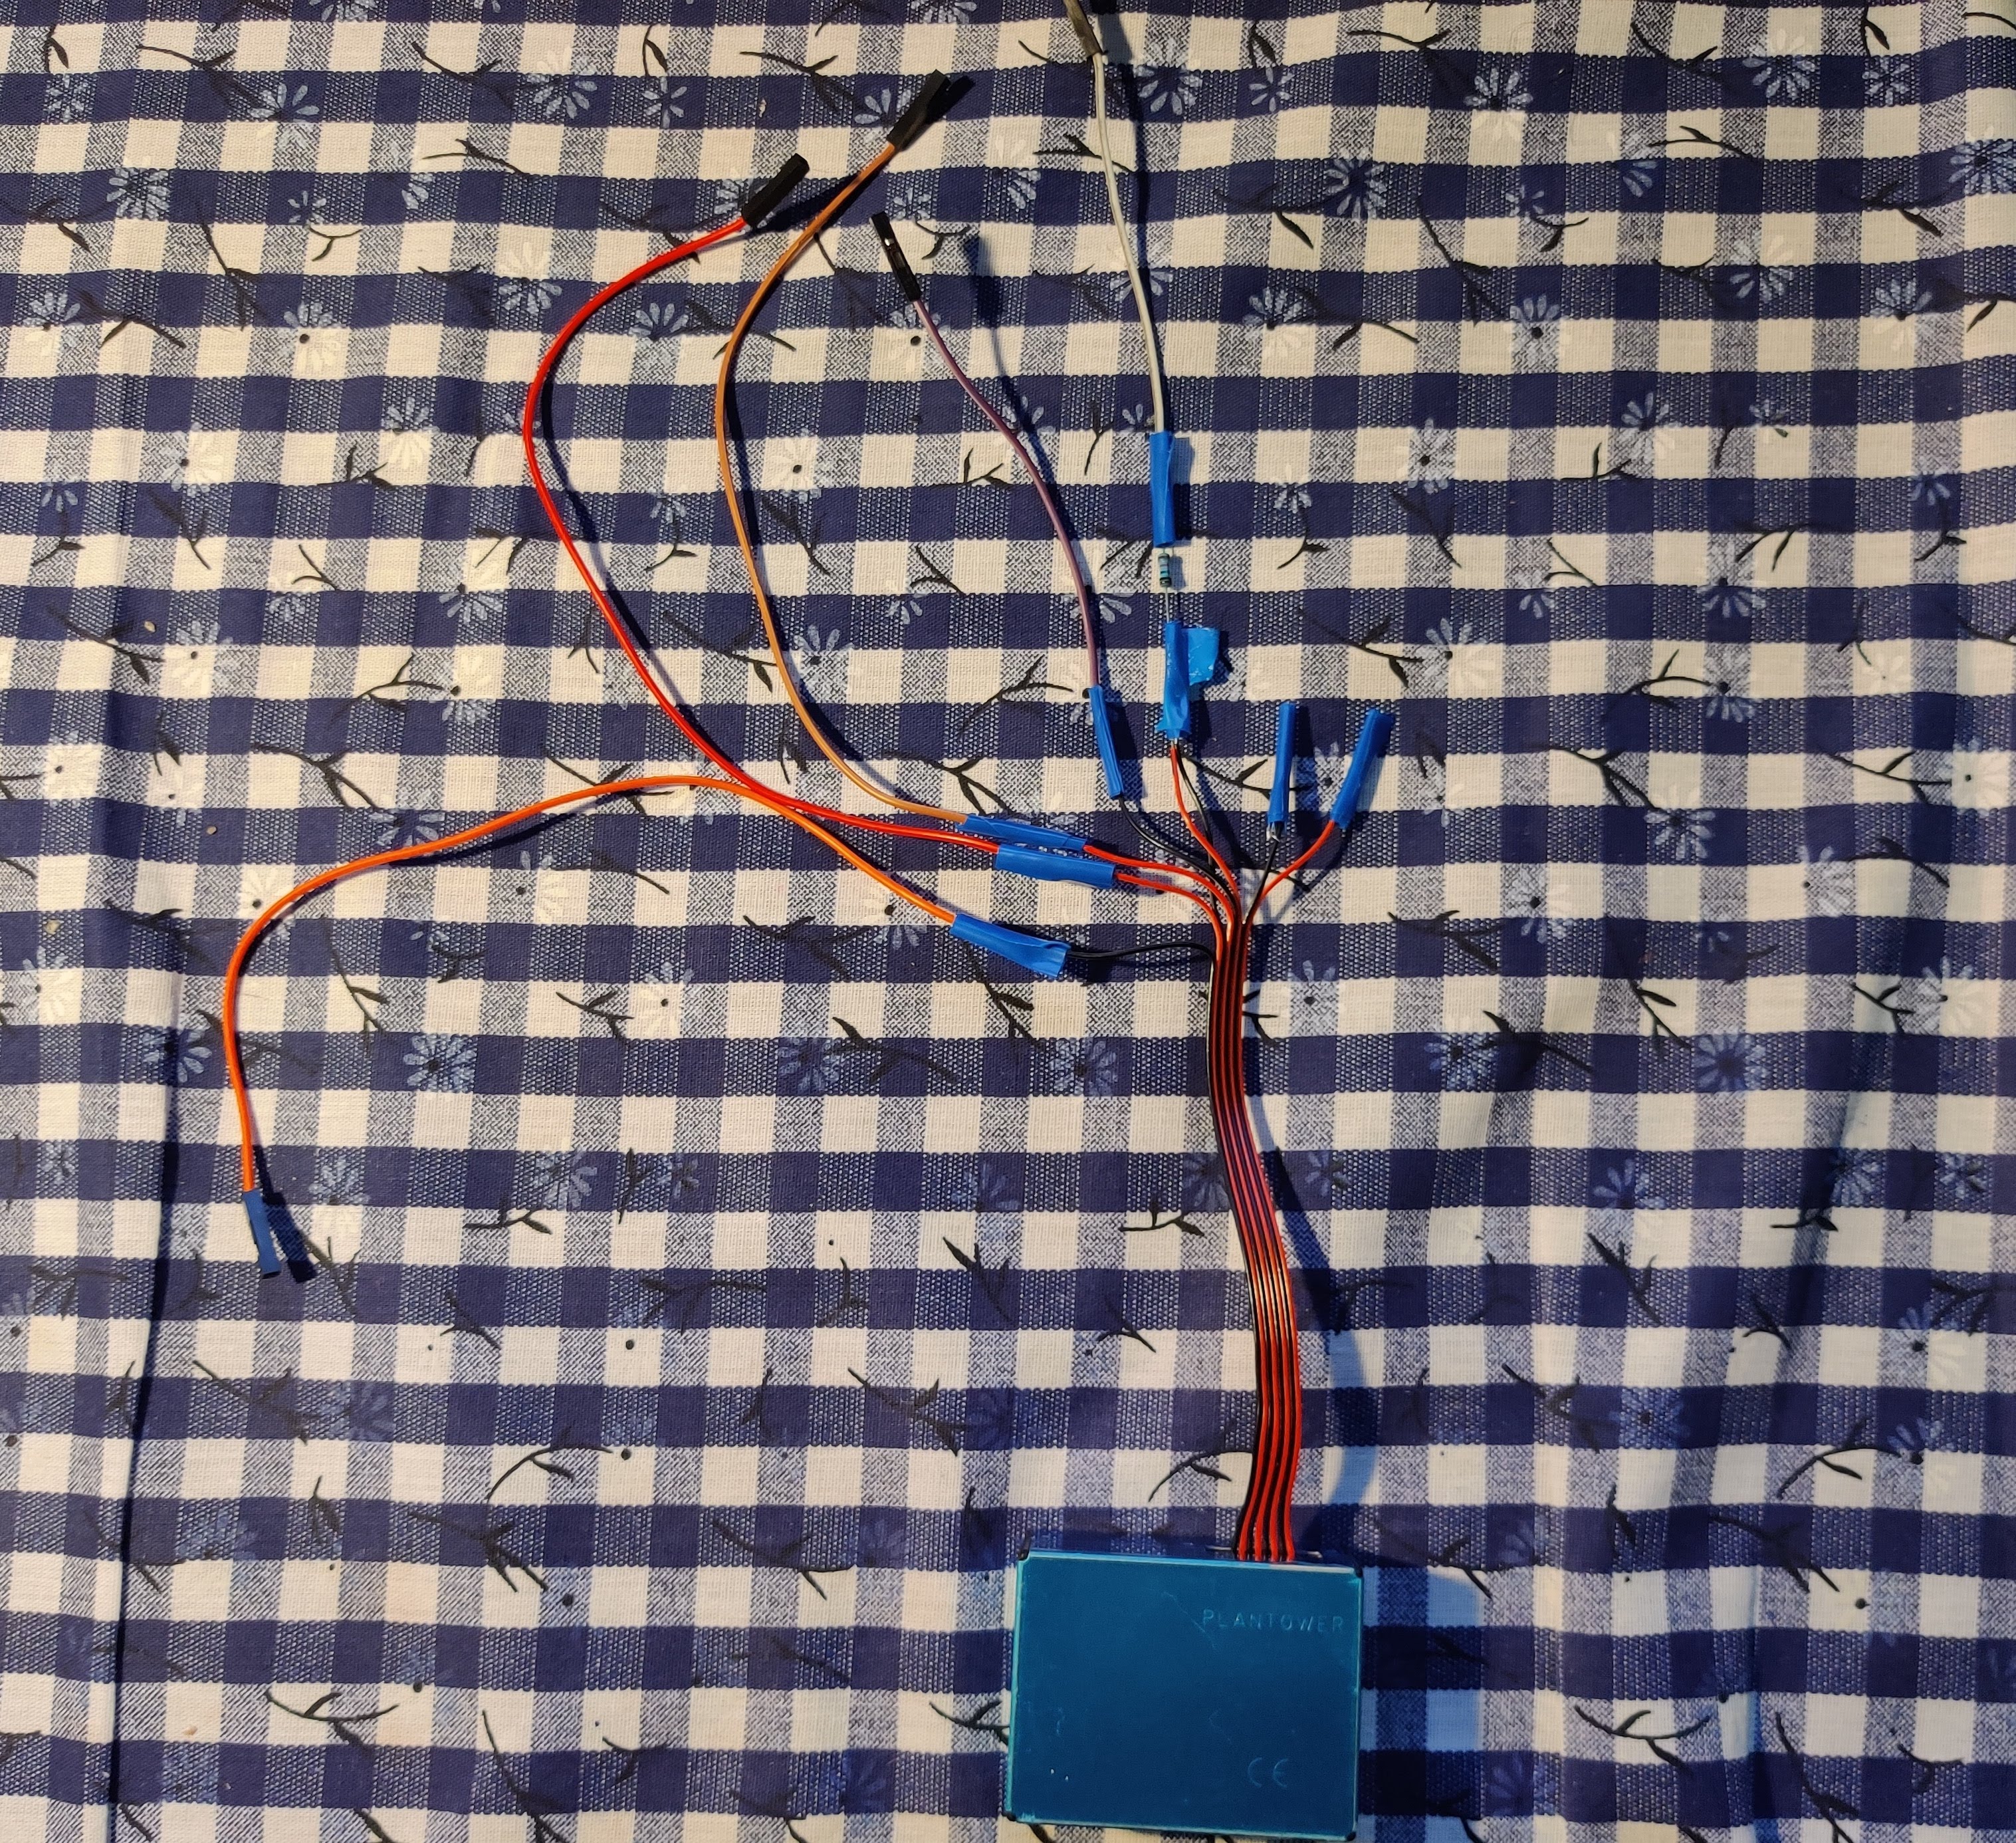
To identify the sensor’s wires I’ve consulted the PMS5003 specification and I’ve cut my sensor’s Picoblade connector, this enabled me to use jumper wires and attach my 10K ohms resistors to the wires. Then I’ve isolated the wires using some electrical tape.

After that, I’ve connected the sensor to the Pi using the following diagram:
 Note: I’ve connected PIN 3 and PIN 6 to a 10K ohm pull up resistor at 3.3V because at the moment I don’t know if I need to reset the sensor or put it to sleep.
 To simplify things further:
SENSOR 1 (VCC) -> RPI 5V
SENSOR 2 (GND) -> RPI Ground
SENSOR 3 & 6 (SET & RESET) -> 10k OHM -> RPI 3.3V
SENSOR 4 (RXD) -> RPI Gpio 14 (UART TX)
SENSOR 6 (TXD) -> RPI Gpio 15 (UART RX)
That’s it! It will look something like the following.
 Verify that the sensor is connected then ssh into the Pi and run the all.py example from pms5003-python**.** You should see something like:
 The results can be interpreted using the following reference table.
 Thanks for reading!
