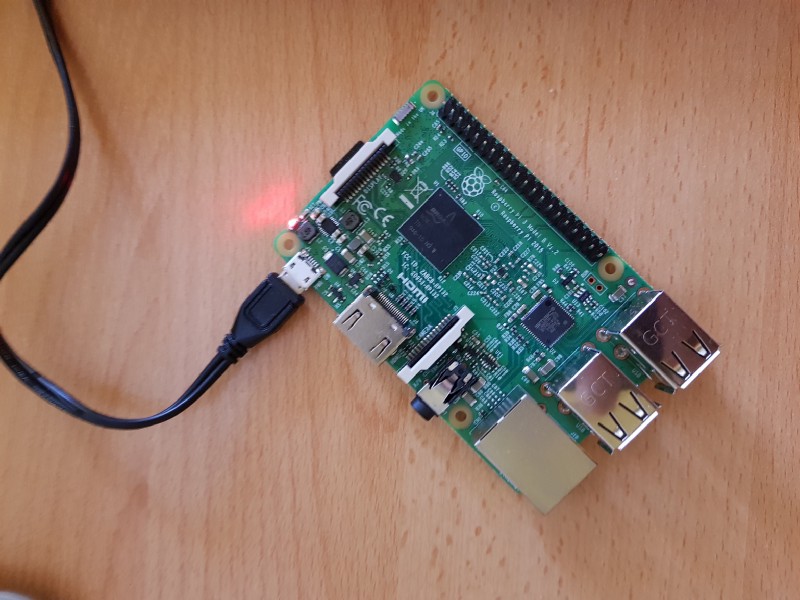
 My Raspberry, serving as an OpenVPN server
Hello everyone!
In this short article I will explain how to setup your own VPN (Virtual Private Network) server on a Raspberry PI with OpenVPN. After we setup the server, we will setup an obfuscation server in order to disguise our traffic indicating that we’re using a VPN. This will help us evade some form of censorship.
Why use a VPN?
First, let’s talk about why you may want to use a VPN server:
- Avoid man in the middle attacks. If you have a malicious user on your local network — even your roommate — that person is able to monitor your unencrypted traffic and tamper with it.
- Hide your internet activity from your ISP (Internet Service Provider) or University, in my case.
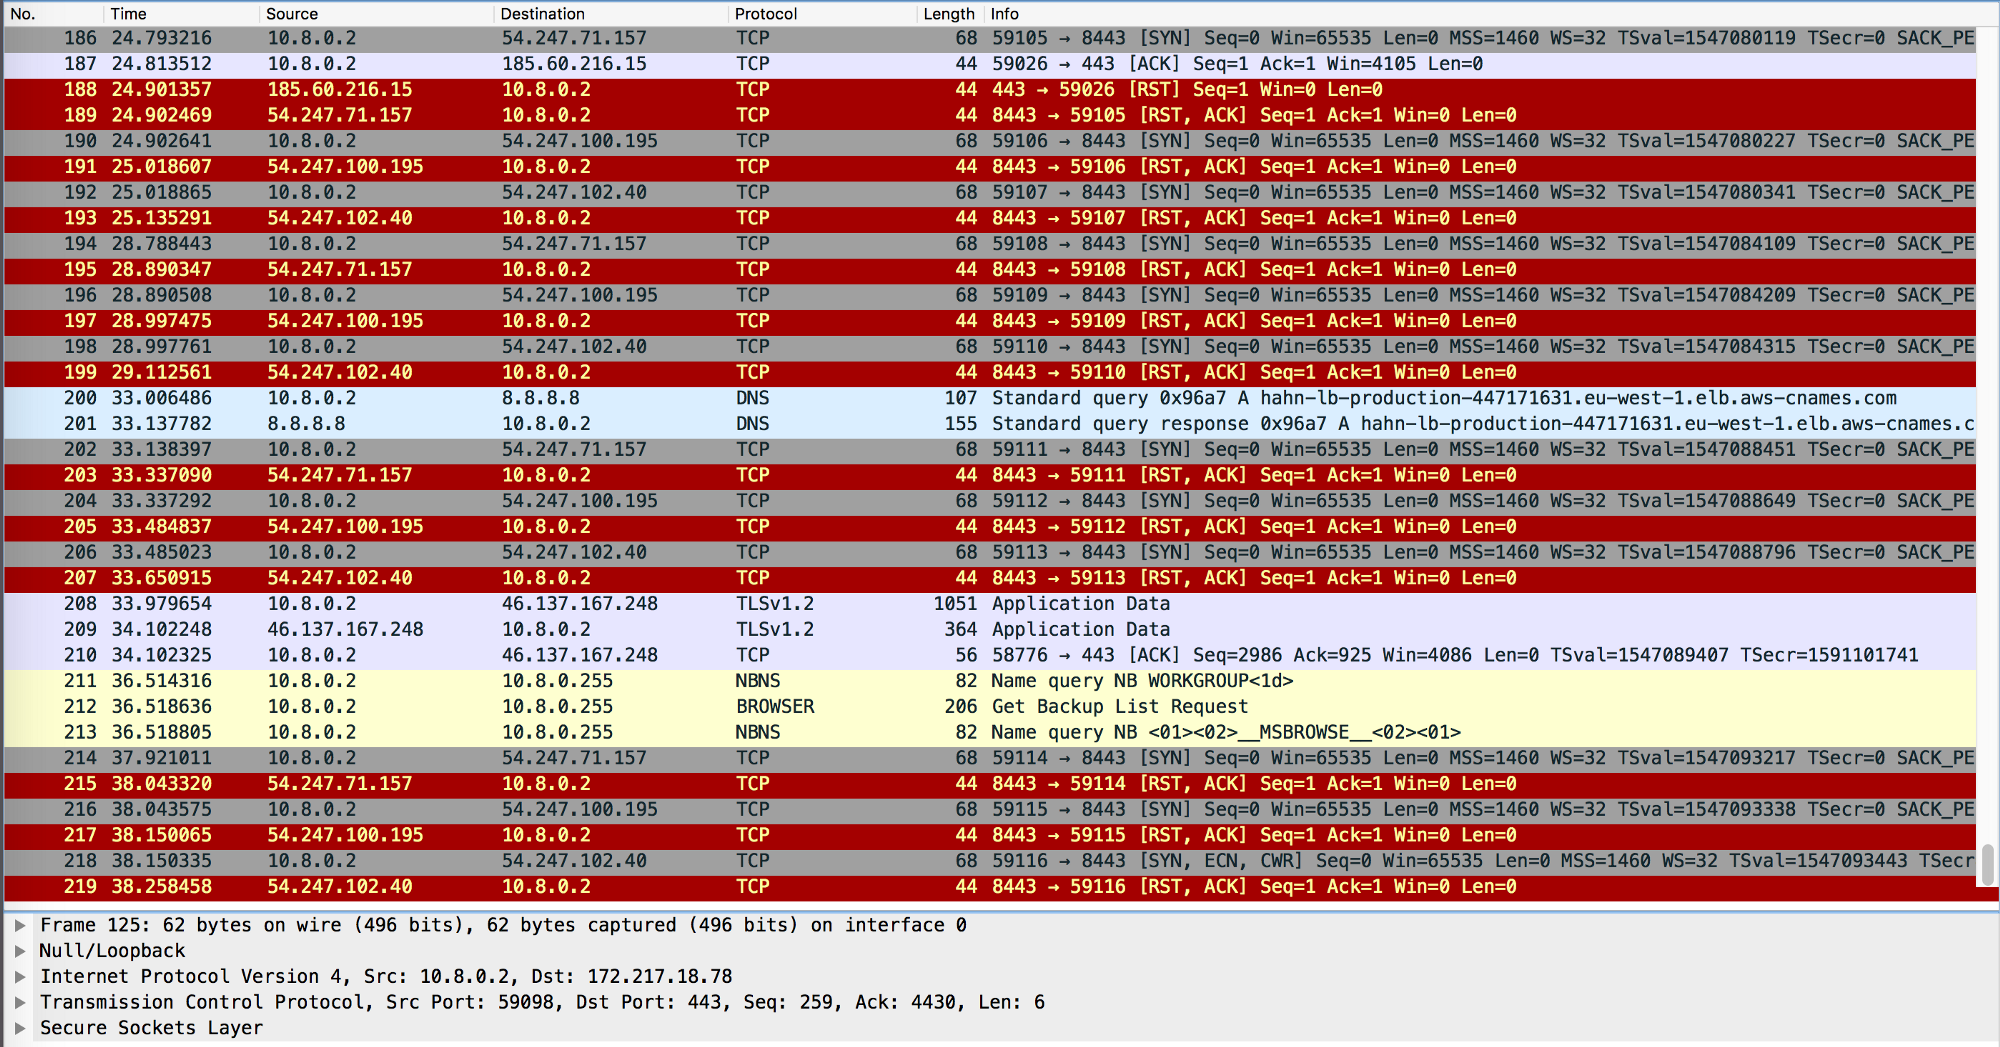
- Unblock services. My University blocks all UDP (User Datagram Protocol) packets. This means that I cannot use any application that communicates via UDP. I can’t use my email client, play games, or even use Git!
I decided to setup a VPN on my home internet using a Raspberry Pi. This way I can connect to my home network while I’m at the University. If you need a VPN server in another country, you can buy a 5$/month virtual private server from many hosting providers.
Installing OpenVPN
This step is really easy, because we will use a shell script to do it for you. So you just have to “press” next and finish.
The installation will take a long time, depending on the key-size you chose. On my Raspberry Pi 3 Model B, it took about 3 hours.
Please go this repository and then follow the instructions
If you don’t know the IP address of your server, just put 0.0.0.0 . I’ve chosen 443 for the port and TCP (Transmission Control Protocol) for the protocol.
Note: This is very important because my university only allows TCP/80 and TCP/443 ports, the rest are pretty much blocked. Also Obfsproxy only works with TCP, so make sure you chose TCP!
After the script has finished, you’ll get an .ovpn file. It can be imported in your favourite VPN client, and everything should work out of the box.
Testing the connection
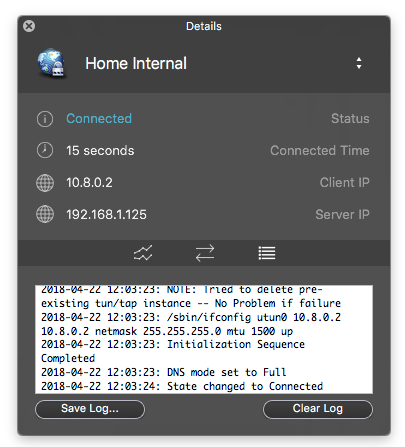
Import the .ovpn file in your VPN client and change the ip 0.0.0.0 to the local ip of your Raspberry PI. Depending on your network configuration it may be of the form192.168.*.* .
Note: This will only work if you are connected to the same WiFi as the Pi is.
 Viscosity successfully connected to my VPN server.
I’ve configured my router so the PI always gets a reserved IP address. You may have to check out your router settings if you want to do something similar.
If the connection is successful, congratulations, you now have a VPN server! But, you cannot access it from outside… yet.
If you only want an OpenVPN server without the obfuscation proxy, then you can skip to Port Forwarding.
Obfuscation Proxy Install
Obfs4 is a scrambling proxy. It disguises your internet traffic to look like noise. Somebody who snoops on your traffic won’t actually know what you’re doing, and it will protect you from active probing attacks which are used by the Great Firewall of China.
Note: This method won’t work if your adversary allows only whitelisted traffic 🙁
Let’s install the proxy server now.
0. Install the required package:
| |
- Create a directory that will hold the configuration.
sudo mkdir -p /var/lib/tor/pt_state/obfs4
- Create the configuration file.
sudo nano /var/lib/tor/pt_state/obfs4/obfs4.config
In the configuration file, you will paste the following things:
| |
TOR_PT_SERVER_BINDADDR is the address on which the proxy will listen for new connections. In my case it is it 0.0.0.0:444 — why 444 and not 443? Well, because I don’t want to change the OpenVPN server configuration which is currently listening on 443. Also, I will map this address later to 443 using Port Forwarding.
TOR_PT_ORPORT should point to the OpenVPN server. In my case, my server runs on 127.0.0.1:443
- Create a SystemD service file.
| |
Then paste the following contents into it:
| |
[Service]
EnvironmentFile=/var/lib/tor/pt_state/obfs4/obfs4.config
ExecStart=/usr/bin/obfs4proxy -enableLogging true -logLevelStr INFO
[Install]
WantedBy=multi-user.target
- Start the Obfuscation proxy.
Now, make sure that OpenVPN is running and run the following commands in order to start the proxy and enable it to start on boot.
| |
| |